Soap Making, Workshops
Beginners Soap Making Course
Oct
We had great fun today teaching eight eager ladies the basics of cold process soap making at Melton South Community Centre, Victoria.
Our beginners soap making course is one of my personal favourites to teach because I do most of the instruction. We teach a minimum of four with a maximum of eight students per class. You can see our current schedule on our soap making course schedule page.

The process itself is quite easy, however there is so much to learn before the each person gets to make their own 1kg block of soap, like safe handling of ingredients, tips to get the best looking soap, utensils and equipment to use, and measuring techniques to name a few.
So what can each student expect on the day?
Firstly, Kim and I greet each class member and make them feel at ease. We provide everyone with a name badge so that not only can we remember everyone’s name during the class, but it helps each of the class members break the ice a little easier.
I then open the class with a talk about the benefits of homemade soap and the use of all natural ingredients. We provide a comprehensive soap making recipe and method sheet for each student.
Our basic soap recipe uses only six ingredients;
- Olive Oil,
- Rice bran Oil,
- Sunflower Oil,
- Coconut Oil,
- Sodium Hydroxide (Caustic Soda), and
- Water.
We also give each student the option of adding a fragrance oil and colour.
The actual amounts are our little secret and reserved for students that attend, however suffice to say it produces the most amazing bar of soap with a good lather, creaminess, bubbles and moisturizing properties. All the ingredients are readily available in supermarkets and hardware stores and, of course, soon to be available from our own online shop here at Little Green Workshops.
Here is a simplistic representation (aka infographic) of the entire process.

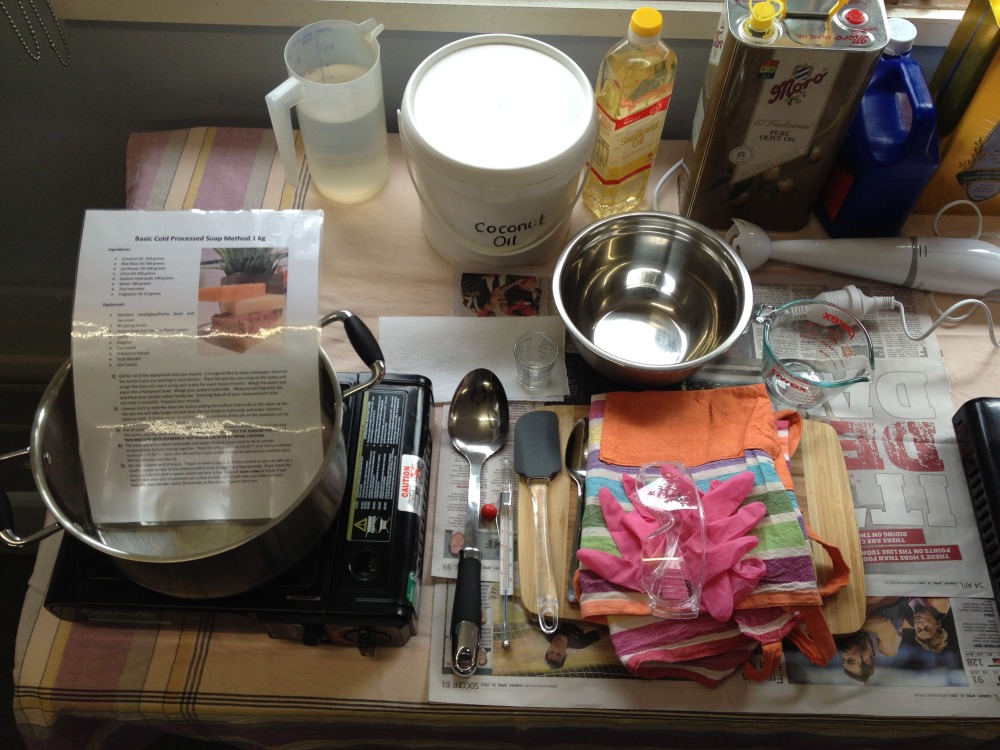
I then perform a demonstration whereby I make a 1 kg block of soap, stepping each class member through the process to successful completion. I encourage each student to ask questions as we go along, and to take notes if they like. This puts everyone at ease because they now have a much better idea of what they are doing as they make their own block of soap.
Then the first four students take up their places at their designated workstations and I step them through the process as they follow along using their worksheet. We teach in groups of four for safety reasons, so that I can ensure that everyone is handling the ingredients correctly. This also helps build confidence as the students know that I am there to help them as they work through the process.
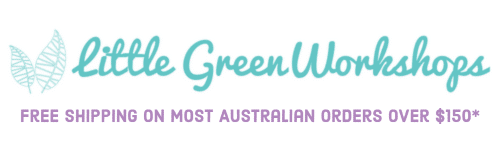
Here is what an individual workstation consists of. All the gear you need to make a successful 1 kg block of soap.
Once the first four students have completed their soap, Kim and I quickly reset the workstations with the turn around between groups being about five minutes.
The next group of students then make their soap. Once complete, I take a breather and Kim takes over.
Kim does a demonstration of what the soap block will look like after 24 hours of setting. She shows the students how to cut the soap in preparation for the four weeks curing time. Kim also talks about safety whilst handling the soap to avoid skin irritations until the soap is fully cured.
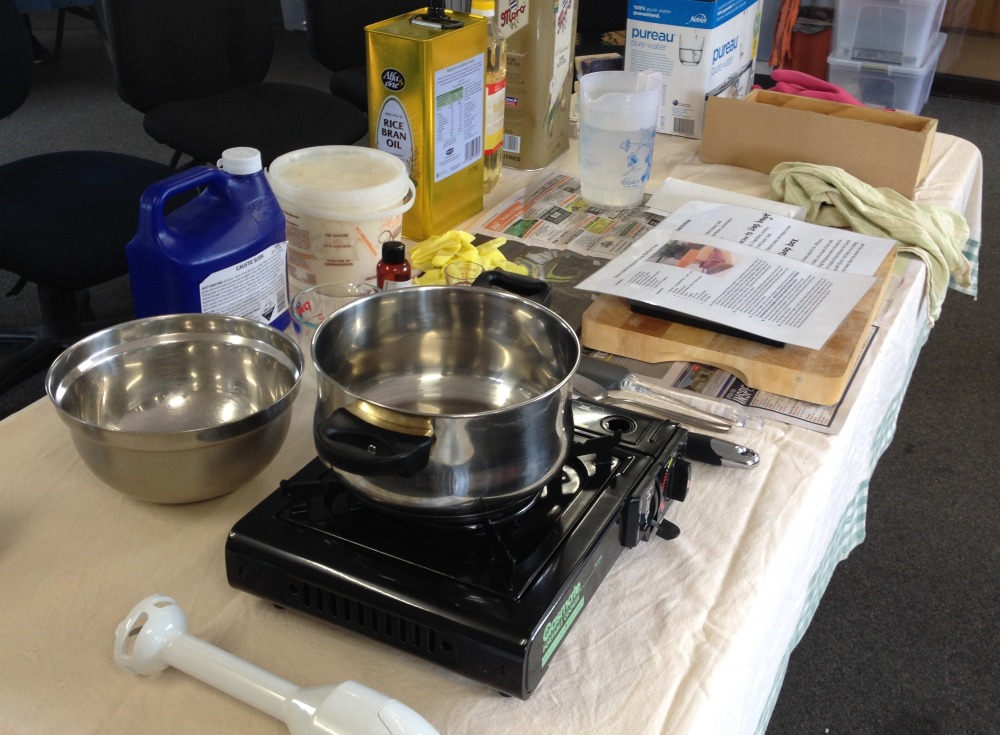
The formal part of the class is then complete, whereby we invite students to peruse our little onsite store if they wish to purchase any ingredients to make their own soap at home. We sell coconut oil – 1 kg, assorted colours and fragrances, soap cutters, thermometers, safety glasses, and measuring glasses. There will be similar product lines available soon within our online store.
As the students begin to leave with big smiles on their faces, we say goodbye and hope to meet them all again at an Advanced Soap Making course in the future.
So there you have it. This is what you can expect at our beginners soap making course. Our classes are friendly, fun, and safe. And most of all we love teaching them.
I.want ti.learn how to make soap from scratch and I hope I can learn from you.thanks
Good reason .
Hi, I’m a newbie to soap making so have decided to start the easy way using the ‘melt & pour’ method for now.
Quiero aprender hacer
Hi I’m interested in teaching soap making. I was wondering how long your lesson for basic soap making takes. Also what do you do while you wait for the lye to cool sufficiently to mix with the oils?
Hi Cathy. Not sure what you’re asking. Did you want to licence our soap making course?
Is this like cooking oils where do i fine the caustic soda at
Yes, just normal vegetable oils. You can find caustic soda at most hardware stores.
Hi, Gavin.
Thanks for your lecture, I wish I had the opportunity of being there. Great one, even, though it’s been long. Please, I will like to ask a personal question on inorganic soap making. Will it be ok on the forum or do I send a mail
Greetings from Costa Rica, I wish to be there and take your soap course, it looks nice! I hope to have my own lab and make my personal brand of soap in the future. Thanks for sharing this post!!!
Can u use Shea oil instead of Shea butter in soap
Hi Kim, when substituting different oils and butter, you will need to recalculate the saponification value for your cold process soap recipe. Soap Calc is a good starting point. Regards, Gavin
Please sir I want to Len please and I need video please so that I will understand it thanks.
No problems Christian. Here are the soap making video tutorials that we have made so far; https://www.youtube.com/channel/UCPGPyGa_1gvKzHGAvnbKEQg